Category Archives: Activities

Activities for kids of all ages themed to each Garth & Bev episode. Have fun!

Make your own parachute!

parachute

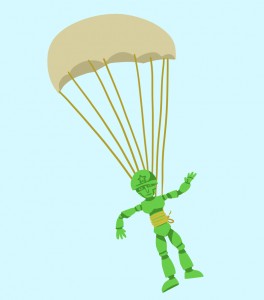
Making your own parachute man is easy and so much fun!
What you’ll need:

-  Light material that you can cut, like a handkerchief or scrap material

- Scissors

- 8 equal lengths of string

- A small object to act as a weight, like a little action man figure

How to make it:

1) Cut out a large square from your material

2) Trim the edges so it looks like an octagon which is an 8 sided shape (make sure your parents are helping you)

3) Cut small holes near the edge of each side

Bombs away!

4) Take your 8 pieces of string and attach them to each of the holes

5) Attach the other side of the string to your action man

6) Stand on a chair and drop the parachute man to see how he falls

Did it work?

Your parachute man should of fallen slowly to the ground because of the resistance caused by the air against the parachute. The bigger the parachute the slower your parachute man will fall.

If he’s not falling in a straight line cut a whole in the middle of the parachute which will allow air through the hole to help him float down straight!


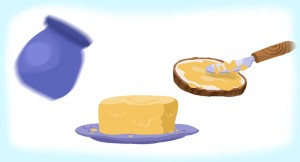
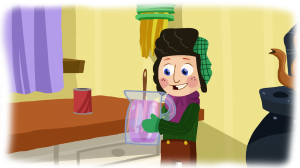
Making your own butter

butter

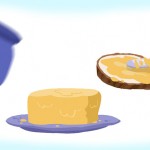
How yummy is butter? Especially on a piece of toast in winter!

Cheese and butter are Elva's speciality!

Did you know you can make your own butter at home and all it takes is a little bit of shaking?

What you’ll need:

- a glass jar with a lid

- heavy whipping cream

- a strainer

- a pinch of salt

- some bread to try your butter with!

Method:

1) Fill your glass jar half way with cream and screw the lid on

shake, shake, shake!

shake, shake, shake!

2) Shake the jar really hard, this will take about 20 minutes so you might want to take turns with your parents or friends!

3) Once a lump has formed pour the mixture into a strainer to get rid of the buttermilk

4) Rinse your butter lump under cold water and place back into the jar, add a little salt and mix gently

5) Spread your butter on the bread

6) Eat!

Did you know?

That butter is made from milk, but do you know where milk comes from?

From a cow!

Is the pencil magic?

pencil

Light can play tricks on your eyes! Here’s a fast and fun activity that you can do to trick your friends!

bent or straight?

What you’ll need:

- a pencil

- water

- a clear glass jar (like an empty pasta jar)

How to do it:

1) Fill half your glass jar with water

2) Place the pencil in the water

3) Look at the pencil from the top

4) Look at the pencil from the side

When you look at it from the top it looks straight but when you look at it from the side its bent!

Why does it do this?

Its the light playing tricks on your eyes! You see light travels through water slower than it travels through air. When the light hits the water it slows down making the pencil look bent, but when the light travels through air it speeds up making the pencil look straight!

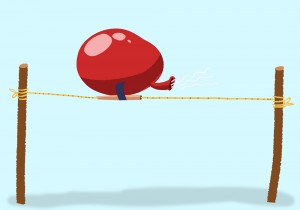
Jet Engine Balloon

balloon

You’re a bit too young to fly a real jet engine, but here’s a fun activity you can do that will teach you about pressure!

What you’ll need:

- Scotch tape

- A drinking straw

- a long balloon

- 3 metres of nylon string

- trees, poles or chairs to tie the string to

How to do it:

1) Take one end of the string and tie it to a tree or a post

2) Slide the straw onto the string

3) Tie the other end of the string onto another post or tree, making sure the string is tight

4) Blow up the balloon and hold the opening so the air won’t escape

5) Face the opening of the balloon towards the post you tied the other end of string to, rest the balloon on the string and tape the balloon to the string

Go Jet Balloon!

6) Release the balloon!

Why did that happen?

When you let go of the balloon all of the air inside rushes out! Which causes the balloon to speed across the string!


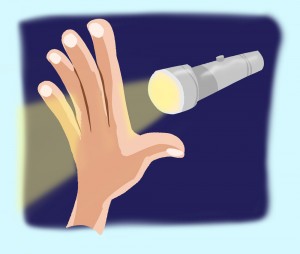
Can you see the light?

torch_flat

Light helps us to see in the dark and sun light helps plants and animals to grow up big and strong too!

Here’s a fun activity you can do to learn about how light and objects have three different relationships.

What you’ll need:

- A torch

- lots of different objects from around the house: your teddy bear, books, toys, anything!

What to do:

Shine the torch through the objects to see if the light shines through it.

If the light shines through you have a transparent (pronounced trans – parent) object, but if the light doesn’t shine through the object is called opaque (pronounced o – pake ) Sometimes you’ll find an object that will let a little bit of light through and thats know as a translucent ( trans – loo – cent ).

These 3 levels are known as different kinds of transparency (trans – parin – see)

Shine the light through your hand, what kind of transparency does your hand have?

Have fun!

Making yummy ice lollies

icelolly

The summer time in Ballybeg can get very hot, luckily Garth and Bev have been through the time spiral and discovered the perfect way to stay cool, ice lollies!

Yummy and refreshing here’s an easy recipe you can make with an adult, so that everybody stays cool!

Ingredients:

300ml of orange juice (you can use any juice you like, apple, blackberry, anything!)

300ml of water

Ice lolly moulds

Method:

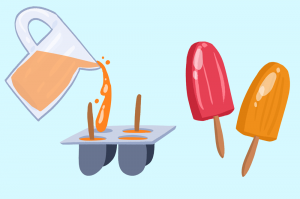
Mix the orange juice and water together in a jug then pour into the ice lolly moulds.

Put the ice lollies in the freezer for about an hour.

Take out of the freezer and wait a few minutes for the ice lolly to loosen from the mould.

Then gobble it up!

Extra yummy tricks:

Instead of using pre-made juice squeeze your own oranges, you’ll need several large oranges to make 300ml

Add in fresh fruit chunks to your ice lollies for a delicious surprise! Pineapple and watermelon is especially tasty.

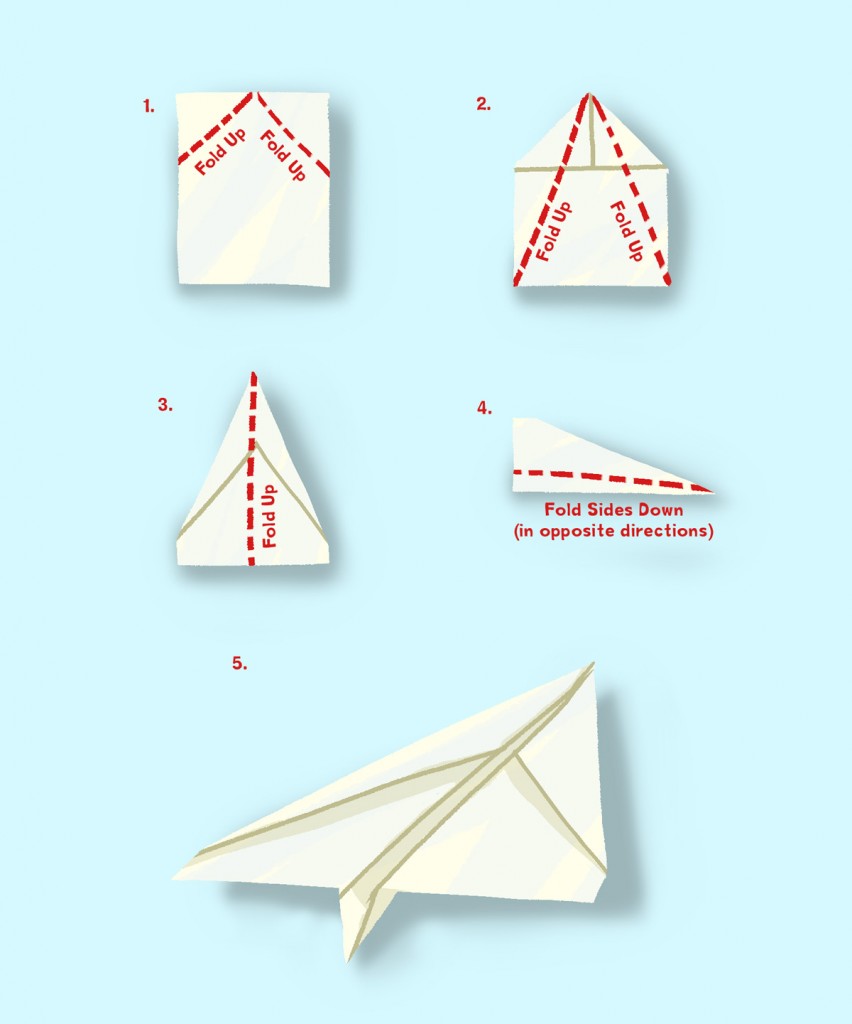
How to make a paper aeroplane!

GA15_010024

Making a paper aeroplane is very simple and lots of fun!

After you’ve made your plane perhaps you and your friends could have a competition to see who’s plane can fly the farthest!

You could also colour in and decorate your plane, with stickers, crayons, or markers!

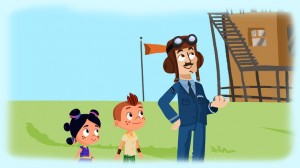
Have you got your flying goggles on?

What you’ll need:

Markers, pencils, stickers to decorate

How to do it:

Follow the simple step by step diagram and you’ll be flying in no time!


Feeding Ducks

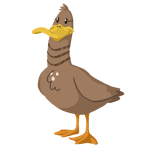
Mother Duck

Do you have a pond near your home where you can watch ducks swimming? Maybe this weekend Mum or Dad could take you there to feed the ducks. Bring some ducky snacks with you and if you’re lucky the brave ducks will waddle right up to you!

Don’t the ducks look cute when they swim? Do you see how their feathers look dry, even though they are in water?

You might be able to see some of the ducks diving into the water to look for food. When they come back to the surface all the water springs off them in a second and they look completely dry! Isn’t that amazing!

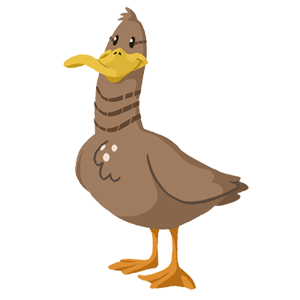
Baby Duck - DucklingHave fun feeding the ducks and don’t forget to look at our Science and Nature post to find out how the ducks stay dry and warm.
Did you Know?

 Bread isn’t good for ducks, it can make them sick!

 Instead of feeding them bread here are some foods ducks love to eat:

  • Grapes cut in half (Yum! You might like to eat one half and feed the other half to the ducks!)
  • Cracked corn, barley, oats, birdseed or other grains
  • Frozen peas that have been defrosted
  • Duck feed pellets your parents can get from farm supply stores

Make your own ‘Niall the Sheep’

niall the sheep colouring in - gluestick and cottonwool

Make a brilliant picture of Niall the Sheep that not only looks like him but feels like him too! After you’ve finished your picture why not email it into us and we’ll put it up on the website! You can email: hello@garthandbev.tv
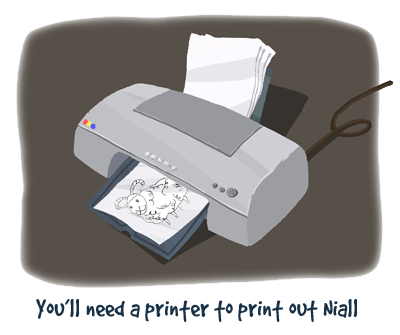
Print out the picture of Niall the Sheep
Have fun!

You will need:

  • a printer to print out ‘Niall the Sheep’ outline
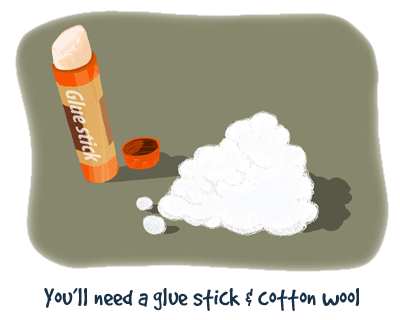
  • a glue stick
  • cotton wool
  • colour pencils

How to Do it

Get your Mum or Dad or older brother or sister to print out the Niall the Sheep from Garth & Bev Colouring here:

niall the sheep colouring in - gluestick and cottonwool
Next use your colouring in pencils to colour in Niall’s face and the surrounding grass and trees. When you are happy with your drawing you’re ready to move onto the next step.

It’s time to get out the glue stick! We want to add the cotton wool onto Niall’s body. We’re using cotton wool because it feels soft and fluffy – just like wool on a real sheep. Using the glue stick rub the glue into the area where Niall’s woollen coat would be. Then take out your cotton wool and stick it onto the glue.

In a few minutes it will be dry and you’ll have a great drawing of Niall the Sheep with with cotton wool coat!

How to Make a Telephone with Cans

How to Make a Telephone with Cans

Why not make your own phone? Here’s a great way to learn how sound travels and to have fun at the same time.

You will need: 2 empty cans, string and a hammer

You’ll need 2 empty can (like a can of baked beans), string and a hammer.

How To:

  1. Wash the empty cans – unless you want to get beans in your ears!
    The end that has been opened will be the phone’s receiver, and the other end will hold the phone’s wire.
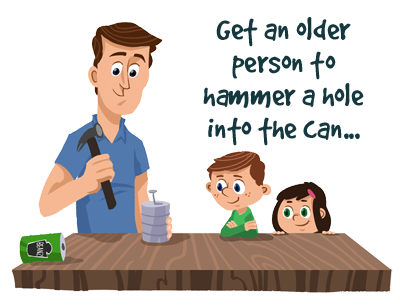
  2. Hammer a nail through the base of the cans to make a hole in the end of each can
    Get an older person to hammer a hole into the can
  3. Pass the string through the hole in the tin can.Insert one end of the string through one of the nail holes. Tie a knot in the string on the inside of the can, so that the string stays attached to the can. Repeat with the other can and the other end of string. The tin cans should now be connected to each other.
  4. Hold one tin can, and give the other tin can to someone else. Walk away from each other until the string between the can is taut.
  5. Speak into the open end of one can while your partner listens to the open end of his can. Switch it around and listen.
  6. Now you’ve made your own tin can phones – you’ll be surprised at how much fun you’ll have!

How does it work?

The sound of your voice vibrates the can & this causes the strings to vibrate. our ears collect the sound, send them to our brain, then we hear the sound!

The person at the other end of the telephone hears your message a couple of milliseconds after you’ve said it – after her ears have collected the sound vibrations and sent them to the brain to be processed.