Monthly Archives: September 2010

Make your own parachute!

parachute

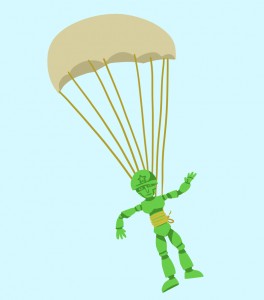
Making your own parachute man is easy and so much fun!

What you’ll need:

-  Light material that you can cut, like a handkerchief or scrap material

- Scissors

- 8 equal lengths of string

- A small object to act as a weight, like a little action man figure

How to make it:

1) Cut out a large square from your material

2) Trim the edges so it looks like an octagon which is an 8 sided shape (make sure your parents are helping you)

3) Cut small holes near the edge of each side

Bombs away!

4) Take your 8 pieces of string and attach them to each of the holes

5) Attach the other side of the string to your action man

6) Stand on a chair and drop the parachute man to see how he falls

Did it work?

Your parachute man should of fallen slowly to the ground because of the resistance caused by the air against the parachute. The bigger the parachute the slower your parachute man will fall.

If he’s not falling in a straight line cut a whole in the middle of the parachute which will allow air through the hole to help him float down straight!


How is cheese made?

CRISP PACKET 02

Little miss muffet sat on her tuffet eating her curds and whey

mmm yummy cheese

Then along came a spider, who sat down beside her

and frightened miss muffet away!

Did you know that curds are what we need to make yummy cheese?

How is cheese made?

It all starts with milking a cow.

The milk is then sent to the dairy factory where it is loaded into big containers. The cheese makers add rennet to the milk to make it curdle.

Afterwards the milk is heated up to get any nasty bacteria out of the cheese. Afterwards the cheese maker separates the curds and whey. The curd is then pressed into cheese. Finally it’s weighed, wrapped and put on a truck.

That’s how it ends up in the supermarket and finally in your tummy!

Did you know?

If you want to be healthy and strong you should eat three servings of dairy a day? All it takes is a piece of cheese, a glass of milk and a tub of yoghurt, then you’ll be the strongest kid in school!

Making your own butter

butter

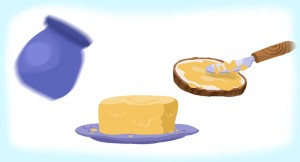
How yummy is butter? Especially on a piece of toast in winter!

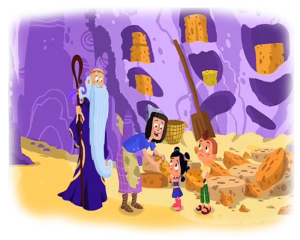
Cheese and butter are Elva's speciality!

Did you know you can make your own butter at home and all it takes is a little bit of shaking?

What you’ll need:

- a glass jar with a lid

- heavy whipping cream

- a strainer

- a pinch of salt

- some bread to try your butter with!

Method:

1) Fill your glass jar half way with cream and screw the lid on

shake, shake, shake!

shake, shake, shake!

2) Shake the jar really hard, this will take about 20 minutes so you might want to take turns with your parents or friends!

3) Once a lump has formed pour the mixture into a strainer to get rid of the buttermilk

4) Rinse your butter lump under cold water and place back into the jar, add a little salt and mix gently

5) Spread your butter on the bread

6) Eat!

Did you know?

That butter is made from milk, but do you know where milk comes from?

From a cow!

Who invented the pencil?

GA10_4

Everyday we use pencils.

We use lead pencils for our school work and coloured pencils for drawing awesome pictures!

But who invented the pencil?

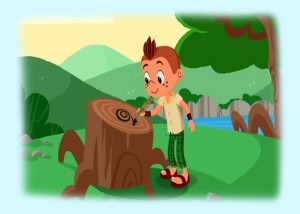
Well the truth is no-one really knows. What they think happened is in 1500′s England, there was a big storm that blew over a tree. When the storm cleared, the villagers inspected the tree to discover a black substance known as graphite.

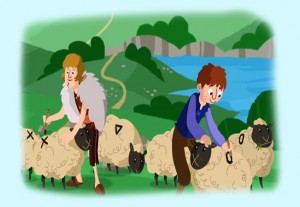
The graphite was perfect for marking everything, including sheep!

Pencils have come along way since then and now are made in factories.

The pencils begin as a big block of wood that is cut into lots of smaller lengths. The graphite is then inserted into the wood and the pencil ends up in your pencil case!

Did you know?

That the lead pencil isn’t made of lead? Before graphite was discovered people would use lead to mark different objects and the name has stuck to this day!


Is the pencil magic?

pencil

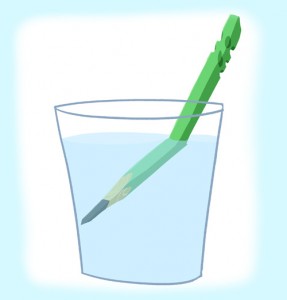
Light can play tricks on your eyes! Here’s a fast and fun activity that you can do to trick your friends!

bent or straight?

What you’ll need:

- a pencil

- water

- a clear glass jar (like an empty pasta jar)

How to do it:

1) Fill half your glass jar with water

2) Place the pencil in the water

3) Look at the pencil from the top

4) Look at the pencil from the side

When you look at it from the top it looks straight but when you look at it from the side its bent!

Why does it do this?

Its the light playing tricks on your eyes! You see light travels through water slower than it travels through air. When the light hits the water it slows down making the pencil look bent, but when the light travels through air it speeds up making the pencil look straight!